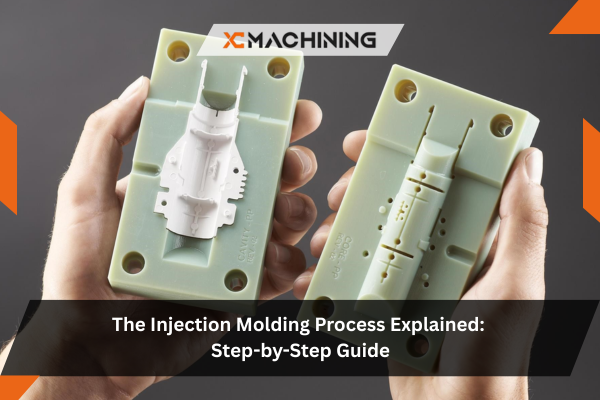
Injection molding stands as one of the most versatile and widely used manufacturing processes in modern industry. From the plastic components in your smartphone to the rubber seals in your car, injection molding shapes the products we use every day. This comprehensive guide breaks down the injection molding process into understandable steps, helping you grasp how manufacturers create millions of identical parts with remarkable precision.
Inhaltsübersicht
What Is the Injection Molding Process?
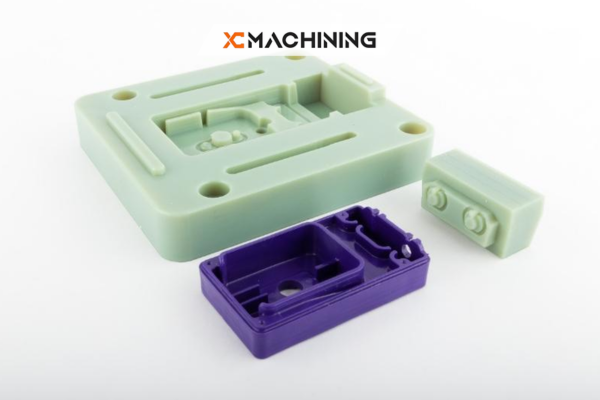
The injection molding process is a manufacturing technique that involves injecting molten material into a precisely designed mold cavity. Once the material cools and solidifies, it takes the exact shape of the mold, creating a finished part. This process works with various materials, including plastics, metals, rubber, and specialized resins, making it incredibly adaptable for different industries.
Manufacturers favor this process because it produces high volumes of consistent parts quickly and cost-effectively. Whether you’re producing medical devices, automotive components, or consumer products, understanding the injection molding manufacturing process helps you make informed decisions about part design and production methods.
The Core Steps of the Injection Molding Process
1. Clamping
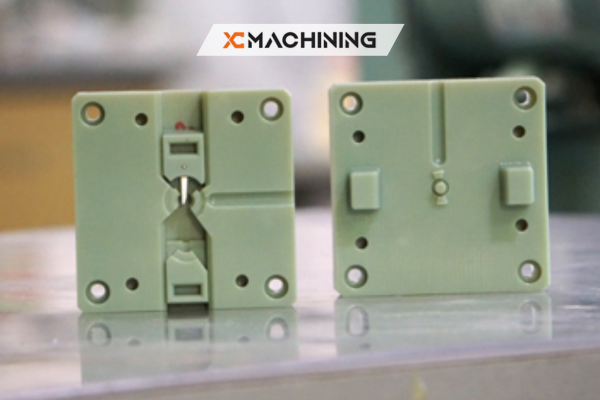
Die Spritzgießprozess begins with clamping. The mold consists of two halves—a stationary half attached to the injection molding machine and a moving half that slides along guide rails. Before injection begins, a hydraulic or mechanical system applies tremendous force to hold these halves tightly together.
This clamping force is critical because the injection pressure can be substantial. Without adequate clamping force, the mold halves would separate during injection, causing defects like flash (excess material seeping between the mold halves). The required clamping force depends on the part’s projected area and the material being processed.
2. Injection
Once the mold is securely clamped, the actual injection begins. The raw material—whether plastic pellets, metal powder mixed with binder, rubber compound, or liquid resin—enters the machine through a hopper. A reciprocating screw inside a heated barrel moves the material forward while heating elements melt it to the proper temperature.
The plastic injection molding process typically requires temperatures between 200°C and 300°C, depending on the material type. The screw then acts like a plunger, forcing the molten material through a nozzle into the mold cavity at high pressure. This injection phase happens rapidly, often in just seconds, to ensure the material fills every detail of the mold before cooling begins.
Key injection parameters include:
- Injection pressure (typically 10,000 to 30,000 PSI)
- Injection speed (controlled to prevent defects)
- Melt temperature (material-specific)
- Fill time (usually 1-3 seconds for most parts)
3. Dwelling and Cooling
After the mold cavity fills completely, the dwelling phase begins. The machine maintains pressure on the molten material as it starts cooling and shrinking. This additional pressure compensates for material shrinkage, ensuring the final part has the correct dimensions and density.
Cooling represents the longest phase in the injection molding process. The mold contains internal cooling channels through which water or oil circulates, drawing heat away from the molten material. The cooling time varies based on several factors:
- Material type and wall thickness
- Mold temperature
- Part geometry
- Cooling channel design
Proper Spritzgießen process control during cooling prevents warping, sink marks, and internal stresses that could compromise part quality. Manufacturers carefully balance cooling time against cycle efficiency—cooling must be sufficient for part stability but not so long that it unnecessarily extends production time.
4. Ejection
When the material has solidified enough to maintain its shape, the mold opens. The moving half slides away from the stationary half, revealing the finished part. Ejector pins then push the part out of the mold cavity. Some molds use ejector sleeves, air blasts, or robotic arms depending on part geometry and surface finish requirements.
The part may still be attached to runners and sprues—the channels through which material flowed into the cavity. These excess portions are typically trimmed away and often recycled back into the production process.
Material-Specific Injection Molding Processes
Plastic Injection Molding Process
The plastic injection molding process dominates the industry due to its versatility and cost-effectiveness. Thermoplastics like polypropylene, ABS, polycarbonate, and nylon are heated until molten, injected into molds, and cooled to create finished parts.
This process excels at producing complex geometries with tight tolerances. Manufacturers can incorporate threads, undercuts, living hinges, and intricate surface details directly into molded parts. The cycle time for plastic parts typically ranges from 15 seconds to several minutes, depending on size and complexity.
Metal Injection Molding Process
Die metal injection molding process (MIM) combines plastic injection molding techniques with powder metallurgy. Fine metal powders mix with thermoplastic binders to create a feedstock that flows like plastic during injection. After molding, manufacturers remove the binder through chemical or thermal processes, then sinter the part at high temperatures to create a dense metal component.
MIM produces small, complex metal parts with excellent mechanical properties. Common materials include stainless steel, titanium alloys, and tool steels. This process works particularly well for parts weighing less than 100 grams that would be difficult or expensive to machine.
Rubber Injection Molding Process
The rubber injection molding process handles elastomeric materials like silicone, natural rubber, EPDM, and nitrile. Unlike thermoplastics, these materials undergo vulcanization—a chemical crosslinking process triggered by heat and pressure that permanently sets their elastic properties.
Rubber injection molding requires specialized equipment with heated molds. The process creates seals, gaskets, O-rings, and flexible components used throughout automotive, medical, and industrial applications. Precision temperature control ensures complete vulcanization without material degradation.
Resin Injection Molding Process
Die resin injection molding process typically works with thermoset materials like epoxy, polyester, or vinyl ester resins. Unlike thermoplastics, thermosets undergo irreversible chemical reactions during molding, creating highly cross-linked structures with excellent heat and chemical resistance.
Manufacturers also use resin injection for composite parts, where liquid resin infiltrates fiber reinforcements within the mold. This approach creates lightweight, high-strength components for aerospace, automotive, and sporting goods applications.
Reaction Injection Molding Process
Reaction injection molding (RIM) involves mixing two or more reactive liquid components just before injection. These components react chemically inside the mold, forming polymers that solidify into finished parts. Polyurethane RIM is common for producing large, complex parts like automotive bumpers and interior panels.
Die reaction injection molding process operates at lower pressures and temperatures than conventional injection molding, enabling larger part production with less expensive tooling. The chemical reaction generates heat that helps cure the material quickly.
Critical Aspects of Injection Molding Process Control
Successful injection molding manufacturing process execution requires precise control over multiple variables. Modern injection molding machines use sophisticated sensors and control systems to maintain consistency across thousands or millions of parts.
Temperature control affects material flow, part quality, and cycle time. Each heating zone along the barrel requires independent control to create the ideal temperature profile for the specific material being processed.
Pressure monitoring ensures complete mold filling without over-packing, which can cause excessive flash or internal stresses. Real-time pressure sensors detect variations that might indicate problems like material degradation or mold wear.
Timing precision optimizes production efficiency. Controllers manage injection speed, hold time, cooling duration, and overall cycle time to balance quality with productivity.
Position feedback from the screw and clamping mechanisms ensures repeatable shot sizes and proper mold closure. These measurements help maintain dimensional accuracy across production runs.
Advantages of the Injection Molding Process
The injection molding process offers compelling benefits that explain its widespread adoption:
- High production rates: Automated cycles produce thousands of parts daily
- Excellent repeatability: Each part matches the original specifications precisely
- Complex geometry capability: Molds create intricate details that would be difficult to machine
- Materialeffizienz: Minimal waste with most scrap material being recyclable
- Low labor costs: Automation reduces manual handling requirements
- Consistent quality: Computer control maintains tight tolerances throughout production
- Design flexibility: Wide range of materials, colors, and surface finishes available
Common Applications Across Industries
The versatility of the injection molding manufacturing process makes it valuable across numerous sectors. Automotive manufacturers rely on injection molding for interior trim, exterior body panels, and under-hood components. Medical device companies use it for disposable syringes, diagnostic equipment housings, and surgical instruments.
Consumer electronics benefit from injection molding’s ability to create thin-walled, precisely detailed plastic enclosures. The packaging industry produces billions of injection-molded containers, caps, and closures annually. Aerospace applications include interior components, ductwork, and specialized brackets where weight reduction matters.
Schlussfolgerung
The injection molding process represents a cornerstone of modern manufacturing, transforming raw materials into finished products with remarkable efficiency and precision. Whether you’re considering the plastic injection molding process for consumer goods, exploring metal injection molding for complex components, or evaluating rubber injection molding for sealing applications, understanding these fundamental principles helps you make better manufacturing decisions.
Successful implementation requires attention to process control, material selection, mold design, and machine capability. As technology advances, injection molding continues evolving with improved automation, enhanced materials, and more sophisticated process monitoring—ensuring this versatile manufacturing method remains relevant for decades to come.
FAQs
Wie lange dauert das Spritzgießverfahren?
A single cycle can run from 10 seconds for tiny caps to over a minute for thick parts. The main variables are melt temperature, cooling-channel design, and part wall thickness.
What factors influence cost?
Tool complexity, resin price, cycle time, and annual volume play the biggest roles. A cheaper mold often means a longer cycle or lower life, so the balance matters.
How strong are injection molded parts?
Using glass-filled resins, parts can match cast aluminum strength. Even unfilled ABS offers impact resistance that survives daily drops and bumps.
What is the difference between thermoplastic and thermoset injection molding?
Thermoplastic parts can be melted and re-melted; thermosets cure once and stay rigid even under heat. That’s why frying pan handles are often thermoset while toys stay thermoplastic.


