3D printing for beginners called additive manufacturing is the process of creating a three-dimensional object by building it layer by layer. Imagine squeezing icing onto a cake in thin lines until you’ve formed a shape. Instead of frosting, though, most 3D printers use melted plastic or resin.
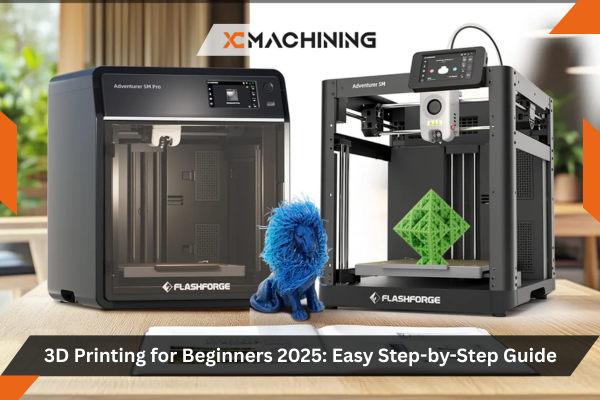
Everyday examples include making custom phone holders, printing spare parts, creating miniatures, and producing personalized gifts. Fused Deposition Modeling (FDM) is one of the most accessible 3D printing technologies for hobbyists and beginners. It’s now affordable and accessible—you don’t need an engineering degree, just curiosity and a willingness to learn.”
Table of Contents
How Does 3D Printing Work? A Simple Workflow Overview
3D printing always follows the same three steps:

1. Design – Create or download a digital model (usually in STL format).
2. Slice – Convert the model into G-code instructions using slicing software.
3. Print – Load the file into the printer and build the object layer by layer.
Essential 3D Printing Terminology (Without the Jargon)
Here are the most important terms explained simply:
– STL File: The common 3D model format.
– Slicer: Software that divides your model into printable layers.
– G-code: Instructions telling your printer what to do.
– Filament: Plastic spools that form each layer.
– Extruder: Feeds filament into the nozzle.
– Nozzle: Heated tip depositing the material.
– Bed: The surface where your object is built.
– Layer Height: Thickness of each layer.
Choosing Your First 3D Printer: What to Look For
The right printer makes a big difference. Consider these factors:
Price Ranges:
– Budget ($200–$350): Great for beginners who want to experiment.
– Midrange ($400–$800): More reliable and larger build volume.
– Premium ($800+): Higher quality and better support.
Printer Types:
– FDM: Melts plastic filament; affordable and beginner-friendly.
– Resin: Uses liquid resin for high detail; requires more cleanup. For extremely precise models, Stereolithography (SLA) offers outstanding resolution and surface finish..
Feature Checklist:
– Heated bed
– Touchscreen interface
– Auto bed leveling
– Good documentation
– Adequate build volume
Setting Up Your 3D Printer for Success
1. Unboxing: Unpack components and check the manual.
2. Assembly: Some printers arrive ready to use; others require a few hours to build.
3. Bed Leveling: Crucial for success; follow your printer’s calibration guide.
4. Load Filament: Heat the nozzle and feed filament until it extrudes smoothly.
5. Connect Software: Install your slicer and ensure communication.
6. Safety: Never touch hot parts and ventilate your workspace.

The Must-Have Tools, Accessories, and Safety Gear
Essential tools:
– Scraper: To remove prints from the bed.
– Glue Stick or Hairspray: Improve adhesion.
– Nozzle Cleaning Kit: Prevent clogs.
– Digital Calipers: Measure dimensions.
Safety Gear:
– Gloves and masks for resin.
– Safety glasses.
Starter Filament:
Begin with PLA—it’s easiest for beginners.
Beginner-Friendly 3D Printing Software
Slicer Software:
– Cura: Free and widely supported.
– PrusaSlicer: Great features and documentation.
– Lychee Slicer: Popular for resin printing.
3D Modeling Software:
– TinkerCAD: Browser-based and beginner-friendly.
– Fusion 360: Free for personal use, more advanced.
Your First Project: Step-by-Step From Download to Print
1. Download a model from Thingiverse.
2. Slice it with your chosen software.
3. Export G-code.
4. Start the print and monitor early layers.
5. Let it cool, remove, and inspect.
Easy Starter Projects to Build Confidence
– Calibration Cube (~30 mins): Check accuracy.
– Phone Stand (1–2 hours): Useful and simple.
– Keychain (~45 mins): Customize with text.
Common Beginner Mistakes and How to Fix Them
– Poor Bed Adhesion: Relevel and use glue stick.
– Warping: Use heated bed and print brims.
– Clogs: Keep filament dry, clean nozzle.
– Weak Layer Bonding: Increase temperature slightly.
How Much Does 3D Printing Really Cost?
Estimated beginner costs:
– Printer: $200–$500
– Filament: $20–$30 per spool
– Tools: $50–$100
– Electricity: Low for hobby use
– Maintenance: ~$30/year
Learning 3D Modeling: Simple Ways to Get Started
TinkerCAD is perfect for beginners with drag-and-drop tools. Fusion 360 is more powerful and free for hobbyists. Start by modifying existing models to build skills before creating designs from scratch.
Where to Learn More and Get Help
Great resources:
– Reddit r/3Dprinting
– YouTube: Maker’s Muse, 3D Printing Nerd
Conclusion: Start Your 3D Printing Journey Today
3D printing is an empowering skill for creativity and problem-solving—whether you’re building prototypes or considering Rapid Prototyping as a pathway to product development.


